Do teachers really have vacations?? We can get different opinions, different answers on that., but I can say that most teachers use part of their vacation time, to read, to share, to find new ideas, to prepare new materials for their classrooms, to participate on workshops to be at the vanguard of education.
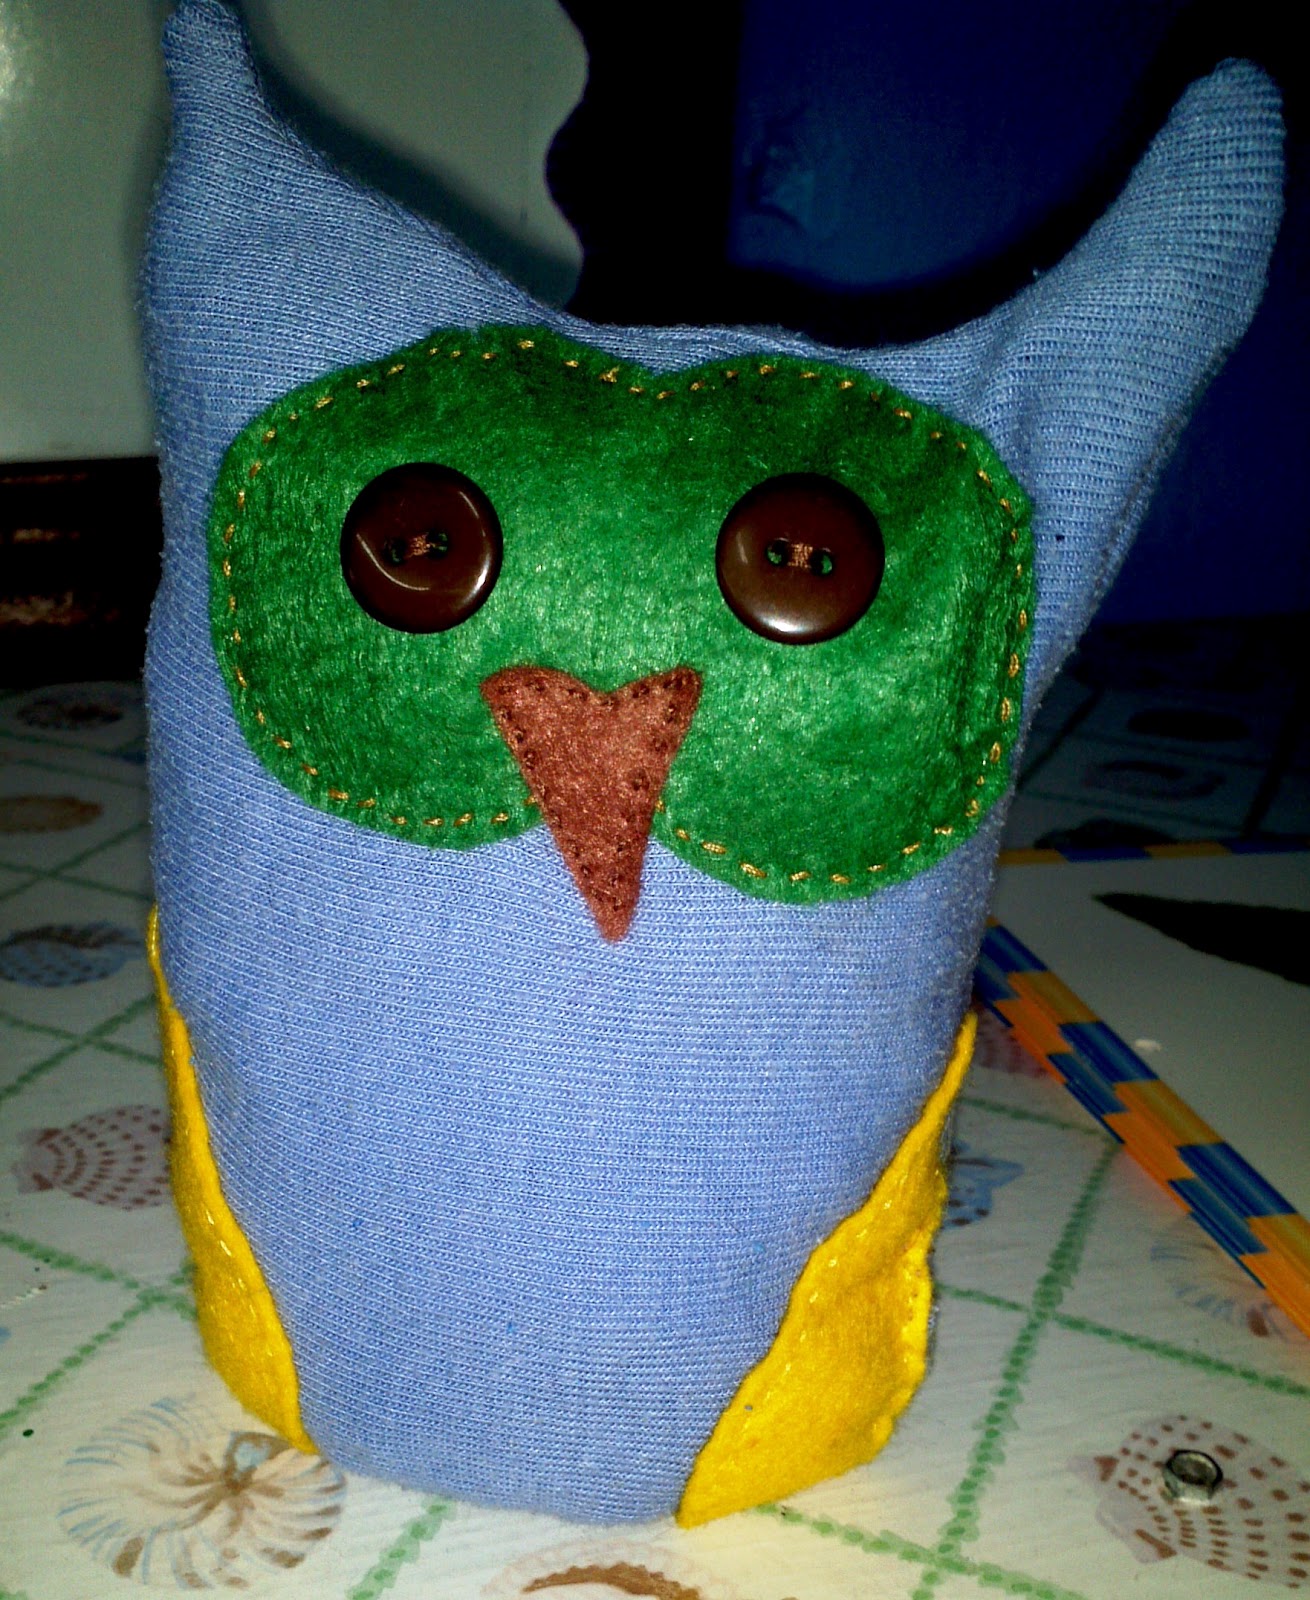
Motivated by my daughter Karla, a teenager, I chose the Owl theme for this coming school year. Since I don't like just to go to a school supply and buy lots of stuff, far from it, what I like is to draw, paint, and cut my own decorations. I started with this project. I'm posting my drawings and finished owls.
Sometimes teachers consider that they don't have the ability to draw from scratch, but believe me, every teacher can draw. You just need to try.( Isn't that what we tell our kids? )
First, gather the materials that you will need: a good pencil, an eraser, drawing paper ( you can use regular copy paper), and a black marker, acrylic paints variety, brushes different sizes.
Then, f
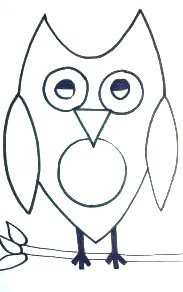
ind a picture(for your theme) that inspire you, a lot of resources in the internet (search images). If you want a simple image, search a template or a black and white clip art. Once you have your sketch, you need to decide the size of your drawing depending on the purpose of it.
Start by drawing the outline, do soft lines first until you are happy with the results. Erase undesired lines. You can use a black marker to trace the final lines. Next step, is to decide what kind of paint you want to use. I like using acrylic paint, and sometimes I use tempera. There are some brands better than others. It's a matter of taste. You can mix & match. Start painting, use fine brushes for smaller spaces. Brush strokes should be to the same side, unless you want to create a special effect.
These owls are half of a poster board. I posted the pictures before and after. That way, you can have and a better idea. I used a green background for the photo. Don't miss my future posts on my classroom decor. Enjoy painting!