Pages

Monday, July 16, 2012

DIY Weekend Mode


It has been a nice weekend, implementing a few ideas I saw during my blog hopping. First, I wanted to make the phonic phones. I bought the 3/4" PVC pipes, and the 90 degrees angles (2 for each phone). My husband cut the pipes  5" each and I put the angles on each side. To decorate them, I bought blue duct tape and placed it around the pipe tube. I made a set of six for my classroom, to begin with. Thanks to Make, Take and Teach 

2 -  90 degree angles & a  5" pipe 

a cute homemade  bag  to storage them 


Some of the reasons I want these are:  
  1. The phone helps the student "hear" his own voice.
  2. The kid's voice  go directly into his ear,  this will help him  acquire phonemic awareness
  3. The phone improves the student’s focus and attention because he is  intentionally listening to his own voice.  
  4. The phones help maintain classroom ‘quiet’ by reducing the overall noise level. Students must speak softly, or else they blast their own ears

My second DIY project for the weekend was the dry erase board.  I have seen them in various blogs and in Pinterest, but I want to mention  The Teaching Thief , here you will find a video explaining how to do them. So, why not try it myself? That's the idea behind all those posts, right? I gathered all the materials that I needed:  report covers,  blue duct tape, scissors, ruler, pen, cardstock.   I measured, cut, pasted, and Voila!  I placed a cardstock inside to give them a little bit of sturdiness. I made four different styles.



The third DIY project that I made today was my 
rulers' holder. Since, I like to reuse, the holder is a plastic can of crystal light but It needed some make over. I made a new sign with die cut letters, taped it around, add duct tape on the top & on the bottom. 

Wednesday, July 11, 2012

OWLS Back to School Decor


Do teachers really have vacations??  We can get different opinions, different answers on that., but I can say that most teachers use part of their vacation time, to read, to share, to find new ideas, to prepare new materials for their classrooms, to participate on workshops to be at the vanguard of education.

Motivated by my daughter Karla, a teenager, I chose the Owl theme for this coming school year. Since I don't like just to go to a school supply and buy lots of stuff, far from it, what I like is to draw, paint, and cut my own decorations. I started with this project. I'm posting my drawings and finished owls.

Sometimes teachers consider that they don't have the ability to draw from scratch, but believe me, every teacher can draw. You just need to try.( Isn't that what we tell our kids? )

First, gather the materials that you will need: a good pencil, an eraser, drawing paper ( you can use regular copy paper), and a black marker, acrylic paints variety, brushes different sizes.

 Then, find a picture(for your theme)  that inspire you, a lot of resources in the internet (search images). If you want a simple image, search a template or a black and white clip art. Once you have your sketch, you need to decide the size of your drawing depending on the purpose of it. 


Start by drawing the outline, do soft lines first until you are happy with the results. Erase undesired lines. You can use a black marker to trace the final lines. Next step, is to decide what kind of paint you want to use. I like using acrylic paint, and sometimes I use tempera. There are some brands better than others. It's a matter of taste. You can mix & match.  Start painting, use fine brushes for smaller spaces. Brush strokes should be to the same side, unless you want to create a special effect. 


These owls are half of a poster board. I posted the pictures before and after. That way, you can have and a better idea. I used a green background for the photo. Don't miss my future posts on my classroom decor. Enjoy painting!  


Saturday, July 7, 2012

Teacher in the Hat


Cat in the Hat 

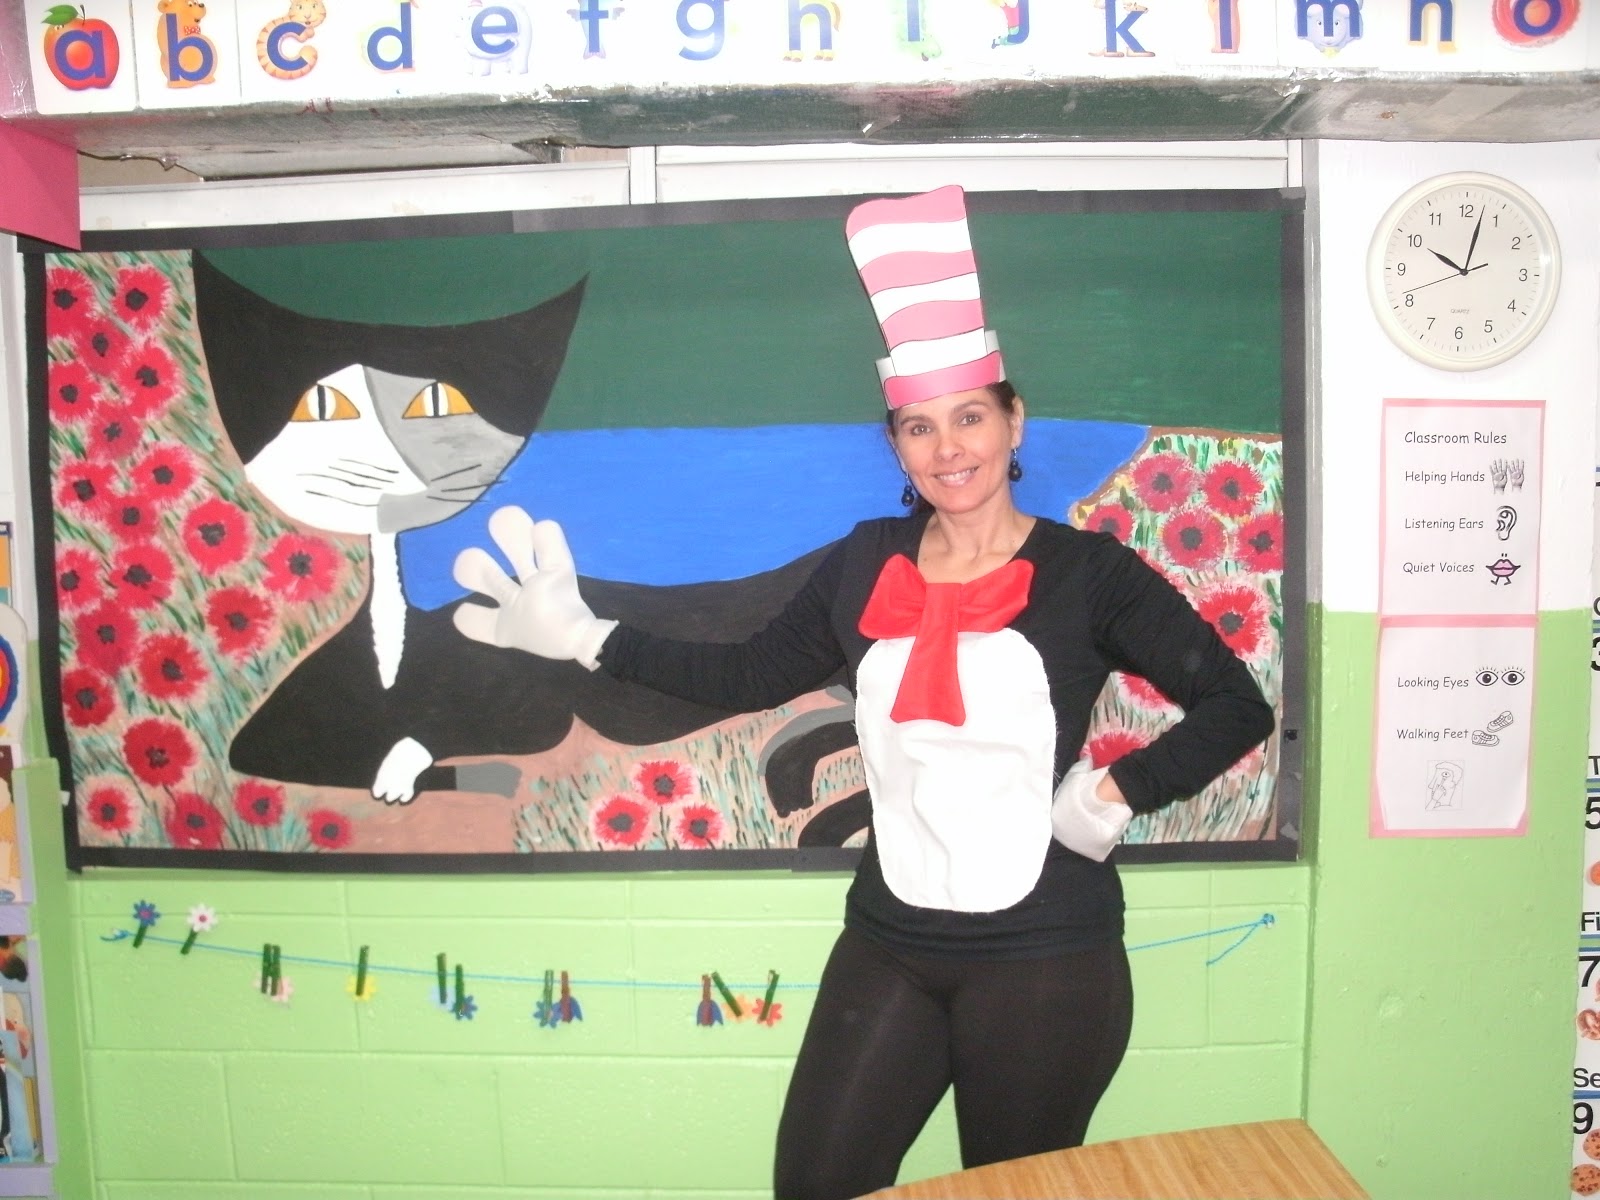
Oh Lord !!!  It was time to celebrate the 75th Anniversary of Dr. Seuss's Book and I wanted to surprise my  First Grade Students. We had read Dr. Seuss’s biography included on their Journey's Book. What if ...They receive the visit of Cat in the Hat ??  Guess what??  Of course,  Me!  They weren't expecting it. The Cat came accompanied by Thing 1 and Thing 2, portrayed by Angela and Sebastiรกn. I read aloud the famous story and students did an assessment on rhyming words.  Everyone had their own hat. What a Great Surprise! 

Cat in the Hat costume is very simple to do:

Dress in black, any long sleeve shirt or t-shirt. Take a piece of white fabric and cut an oval shape for the tummy. Attach with safety pins. Make a bow with a wide red ribbon or  sew one red bow. Attach with pins. Use a white poster board and red construction paper to make the hat. Use white gloves. You can make them with felt. You can find the hat template at www.atoteacherstuff.com and the bow template at www.prekfun.com

Special thanks to my mother-in-law that sew the red bow for me and the white fabric for the tummy.

Thing 1 and Thing 2 


He was so excited with the visit of Cat in the Hat, that he wanted to "dressed" like Thing 1 too!
I love his face! 


Friday, July 6, 2012

LaLaLoopsy Magic @ School

Have you heard about the Lalaloopsy Dolls?  Well, I met them, when girls from third and fourth grade brought them to school. There were so many styles, colors, and fashion names... A Lalaloopsy Mania was taking over our elementary  school. Girls carried  their dolls up and down, show them to all the teachers and administration personnel during lunch time. A group of teachers decided to prepare a surprise for the girls. We were going to create our own version of  LaLaLoopsy Dolls for the top of the bulletin boards. We pre made the body and head with foamy. Then, we chose the posterboard colors and shapes to mount them. The fashion and style was chosen by each "artist".  We started gathering them all in the office until it was time to mount them. I had to use small nails and a hammer to hang them on the walls. We had them ready for their lunch period, when they went down the hall and saw them, they were so happy. They started to jump!
The girls were the Godmothers of our LaLaLoopsy Dolls.

done by Teacher Leisha


done by Mrs. Nancy


done by Ana, the school nurse


done by Mrs. Quetcy


done by Rosa, from the school office


done by Mrs. Linda


done by Annie, the school administrator


done by Annie too!


done by Mrs. Iris


a partial view of the hallway


Thanks to all who collaborate on this wonderful project. We enjoyed it as much as the girls!

A Flower Bouquet for You!

Inspired by Picasso Hand Bouquet and a fabulous idea on how to adapt it for little kids from Pinterest and the Artrageous Afternoon Blog I wanted to try this with my Pre Kinder students. Since they are only four years old, I traced their hands on a beige construction paper. You can hear their giggles, they were having fun. Then, they cut it and glued it. I gave them the green strips of construction paper and they glued them. Finally I gave them little squares of tissue paper and they crunched them and glue them as well to form their beautiful bouquets for their moms. I used this piece of artwork as a cover for their memory album. I just added two strips of scrapbooking paper and used my Sizzix to make their names. 


Bulletin Board Ideas


During the Preschool Week, the main hallway bulletin boards (six in total) of my school were exhibiting works from my English class groups. From the toddler group through first grade. All under the theme of Spring. I painted the background to display their work. Thanks to a dear friend who helped me with the flowers and always support me with my creations.

Inspired by Bulletin Board Ideas 

First Graders and my Toddlers (3 yrs. old)  painted the birds. 

Kindergartners made the Bees.

These Bees were painted by an exalumni 10 years ago.

More Bees made by Kindergarten students.


I made a photo collage of my students working in my classroom.


Butterflies painted by Pre- Kinder students. 


A view of all the bulletin boards in the hallway.


Mondrian Umbrellas and Rain Boots


This project was as part of our Letter U Week. We review primary colors and shapes, left and right skills. Something new for my kids was to use a ruler to draw vertical and horizontal lines. I gave them the precut umbrellas and rain boots for them to draw with a black crayon the lines. Then,  they colored with crayons pressing hard.  
This project was inspired by a lesson I read about on  The Primary Sea  Blog

Kindergartners Mondrian Style Umbrella & Rain Boots

The third one is one of my favorites!