Pages

Sunday, July 28, 2013

Having FUN w/ Vocabulary Words


To practice new vocabulary words,
I scrambled wrote the words in the computer, photocopied and the cut,
arrange and paste to form the word. 


Another way to do it, is by cutting letter from magazines. It takes more time, but it's fun for them trying to find the letters, meanwhile they practice letter recognition, team work because if they found a letter they don't need, they can always give it to their partner (since not all the letters will be found in a magazine the amount of times needed. 


Saturday, October 20, 2012

Green Eggs Xperience!

My school had a special reading activity this week. All the school was submerge in reading. All the students got involved, high school students work together with elementary students to present stories in their native language, Spanish. Guess what?  I said, oh well!  I want to add to that too. During my English classes I prepared special activities. 

The real experience goes like this. I have a new student that was not fully adapted to the English class. He came from another school and did not have the same learning experiences that my second graders. Since I taught them first grade too, they didn't feel that much of a change. Just that they are bigger now and have new books, another classroom, etc. 

Last week, my student came to the class so motivated! He had received a gift from his mother. It was a very funny book, and he wanted to read it in front of the class. When he showed the book to the class, everybody recognized to author!  Of course! It was Dr. Seuss. He had a book of Dr. Seuss, the author of Cat in the Hat, that they all loved it! Immediately, I saw the happiness on his face!... He read the title, Green Eggs and Ham and started to read a few pages.  Since, I knew about the special activity that was coming up, I secretly talked to him about it and we planned to read the whole story on that they. 

I planned some activities related to it, but the funniest part was to see them try the green eggs and ham.
Not only them, but faculty members too. Their faces, their reactions ...it was so funny! We had a great time. 
Thanks to all the volunteer mothers that contributed to the activity, without all of you I wouldn't be possible. 
You can tell by their faces... Did they like green eggs and ham?   Yes or No ! 


I'm not even going to try it!
Yes! Can I have more?
                            
          
Our Principal and the Spanish teacher who planned the original
activity "Submerged into Reading" in Spanish 

Administrative personnel also loved it! 


Fnd the rhyming pictures, cut and paste and write the words.
Of course I used a green paper as a background

DIY Spooky Banner


Spooky Banner 

I made the Halloween Spooky Banner for my classroom decor. I used foomie and hot glue to make them. First, draw a triangle template to use the same size on all the pieces. Use black, green, and white fooamie to add the details. So, simple and so beautiful! Thanks to Pinterest! another idea grabbed from there!

Boo, Friendly Ghosts!!

My kindergartners made their Halloween Ghosts for our classroom decorations. One group used big paper plates and the other group used small paper plates. They colored the eyes and mouth. Some added more details. Then we use crepe paper streamers and glued them on the back of the plate. I first saw the idea from  Craft -N- Things for children. We didn't add the arms, but you may add them too.
The kids have lots of fun!


Sunday, September 30, 2012

Main Hallway!

My school's  main hallway bulletin boards are famed by the themes selected. Specially  for the back to school class lists. Everybody knows Rosita, a lady who works at the school administration and the person responsible for "dressing up" the bulletins. She takes pride of the artwork put on there. The school community always expect something new, spectacular. The themes always remain a "secret"  until the calendar marks "the day". She has a team that always help her. She assigns them part of the theme, gives them an idea of what she would like to see there, and then...magic comes on. Every teacher starts creating, drawing, cutting, pasting... their vision from her idea. Time comes to put all together and ...Voila!


DIY OWL Thingy for School Materials

Are you always looking for things that you can reuse? Here's a simple DIY project for Back2School!

Materials:
  • plastic soda bottle 
  • scissors
  • felts or foamies
  • hot glue
  • butttons
  • Owl template
Steps: 
  1. Cut the top section of the bottle
  2. Trace and cut the foamy using the desire template
  3. Trace, cut,  and paste the eyes, beak, and  wings 
  4. Trace, cut, and paste the claws
  5. Finally use the hot  glue to adhere it. 
gather all the materials 

trace your template
cut 

cut details, eyes and beak


glue in place, add the buttons

wings (style 2)
cut the wings (any style)


cut the claws


OwlMaNiA...OMG!

My classroom's theme for this year  is Owls. I have Owls all over... and my student's binder is called the OWL Binder. OWL stands for Organized While Learning. I asked them to be creative and do a drawing or a craft for their binder cover related to an OWL.

Well, guess what?  My students have been infected with Owlmania...LOL, yes! No medication for that yet!
Now a lot of things with owls invade the classroom. Let's take a look at them.

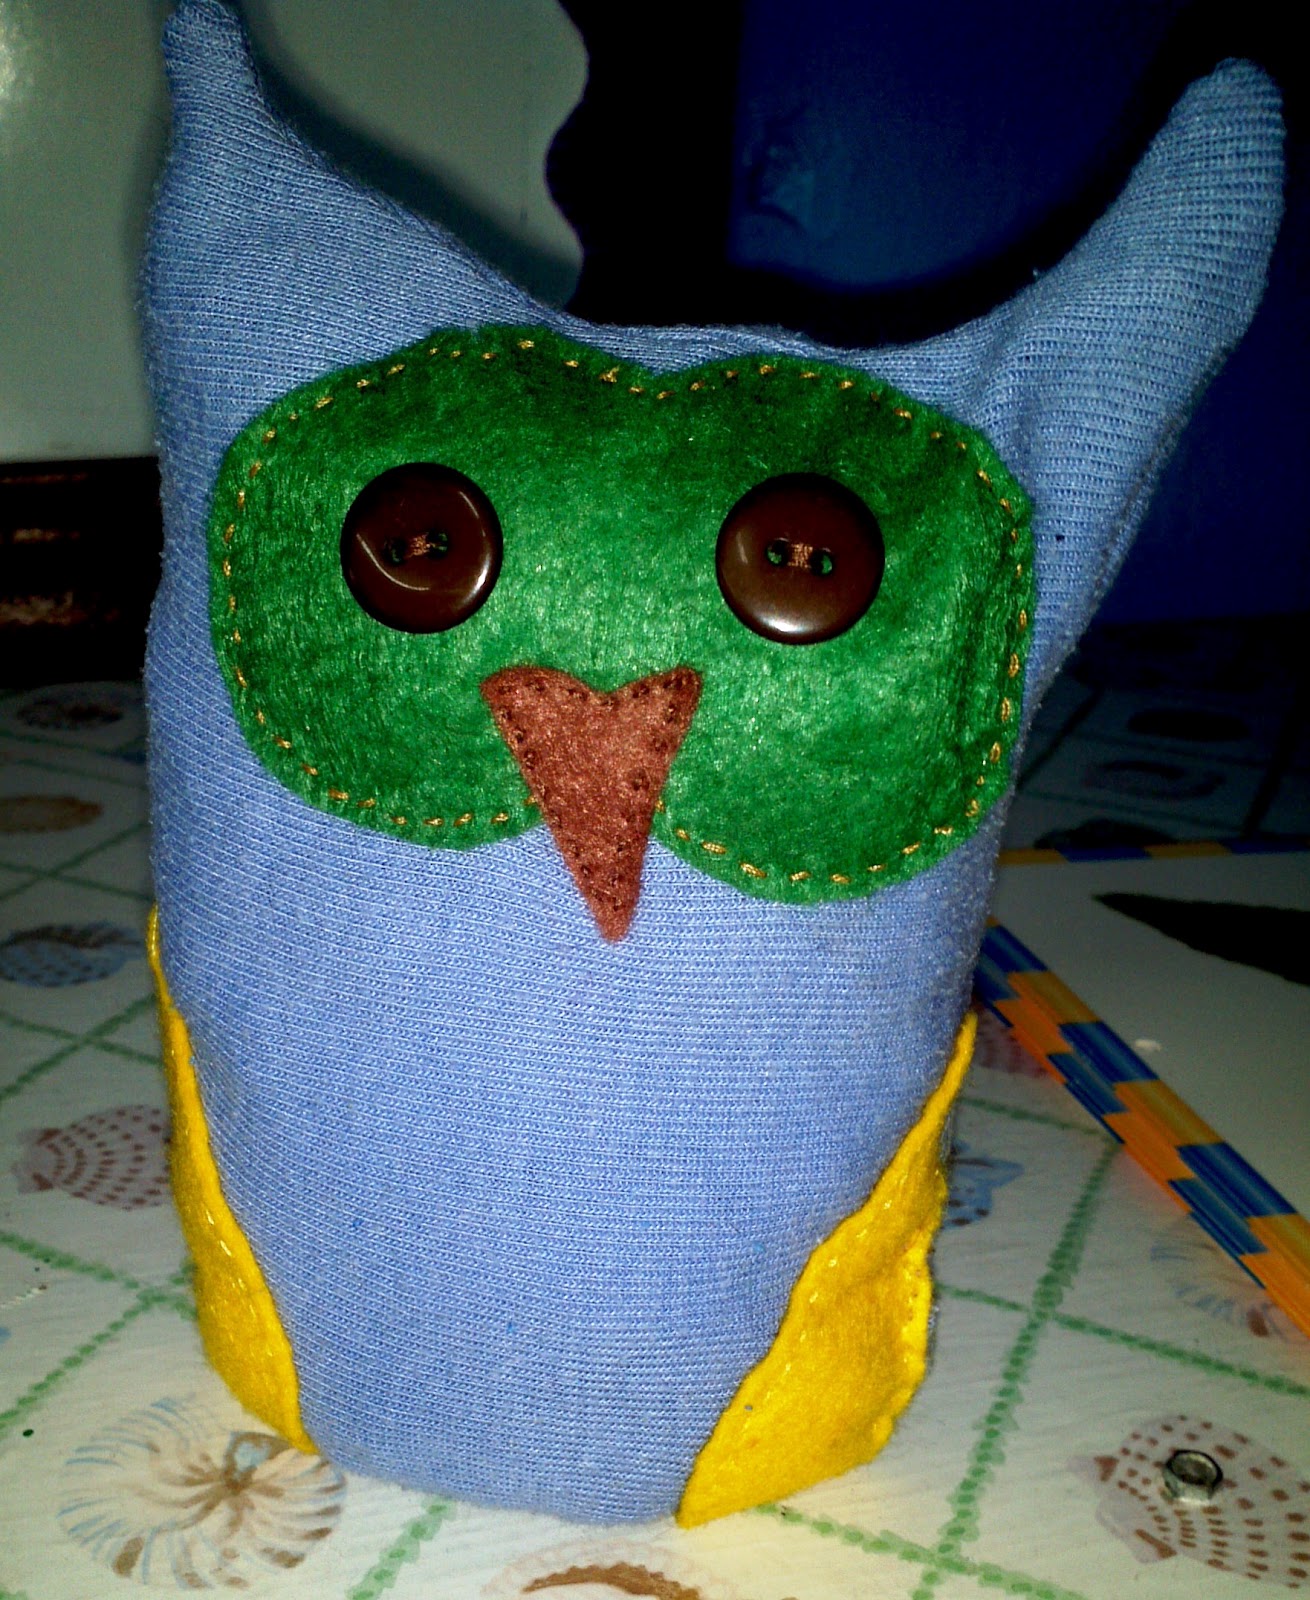
Owl made out of old t-shirts, felt,
 and buttons for the eyes

an owl purse 
another stuffed owl 

Owl notebook 

Owl lunchbox


Henry and Mudge

It was kind of fun having all the pieces
and gluing all together, just like a puzzle.
 
I guess you  have noticed that it has been quite a time that I don't stop by to post anything. Well, it has been difficult for me to adapt to a new grade level. It hasn't been an easy task to have a last minute change,  when you have three levels: kindergarten, second grade and fifth grade. Oh,  well!  I keep going!

My second graders loved the story Henry and Mudge and we worked on the sequence of events using a very creative idea  I saw on Pinterest ( I believed) but I can't remember exactly. 

First, I made a template, traced the dog face on different beige tone construction papers, traced the floppy ears, and the snout. Then they drew and colored the eyes, and added the collar. The students cut and paste following oral instructions to create their own Mudge. 

We cut out bones to write the story events and then placed them in order. We glued them to a strip of poster board for the bulletin board. It was a huge success!  Hope you like them!

This is how it looks on the bulletin board of the hallway. 


Everybody loved the dogs! 


A drawing made by one of my students


We cut out bones to write thestory events
 It was a huge success!  Hope you like them!


smile! 

Tuesday, August 7, 2012

Interactive Wisdom Tree

For this school year, I chose the OWL theme for my classroom. It was my daughter's idea. She loves owls!! I like them, but I need to accept that I'm starting to love them!  Well, after drawing, painting, cutting all my classroom decors, I needed to decide what I was going to do for the exit door. I was clueless on Friday. All of a sudden, my daughter told me: Mom! I know !!... I have an idea!?!?  I have seen it in Pinterest !!        She then explained me the idea of making an interactive fingerprint tree were all the visitors "stamp" their thumbprint. "Perfect!" I exclaimed.  I just needed to draw and paint the tree trunk with the branches, then added a small owl as a special touch.  Since this was going to be for the Open House, I used fingerpaint. I set up a table with all the materials needed. My daughter and I placed our fingerprints first as examples. We had such a fun time, all family members stamped their fingerprints, teachers, office's secretary, our Principal even our School Director.

Thank You All for sharing with us!

Interactive Wisdom Tree 


my daughter,  thanks for the wonderful idea!! 


Classroom Pic's

After having to move to my new classroom, I'm almost ready...yes, I have to say classes began today and my classroom was almost ready. I still need to finish some details, but I'm so happy that I want to show all of you the results. I will appreciate all your comments.
Entrance Door
Reading Area 

Focus Wall 


Here you can see the back of the room
 From left to right,the reading center, spelling center, poem, center


my board
teacher's desk